Learn 5 Essential Farmsteading skills that will get you on your way to self sufficiency.
Category: Gardening
Gourds

I planted some gourds last year and have been tripping up on our harvest. I had used gourds as maracas when my children were small, but I can’t honestly say that I have “crafted” with Gourds. I’ve seen a wonderful display of possibilities (a “quick” search on Pinterest will blow your mind), so I was ready to tackle the chore.

Keep it wet to avoid nasty dust
Most posts cautioned about mold dust and such, so I was good to keep the gourd wet while working on it, to keep the dust down. It cleaned up rather easily with just a bit of effort and a scouring pad. I like the marbled effect I was achieving so I wasn’t too determined to get it completely clean ( read: minimum effort =maximum results).
Simple tools
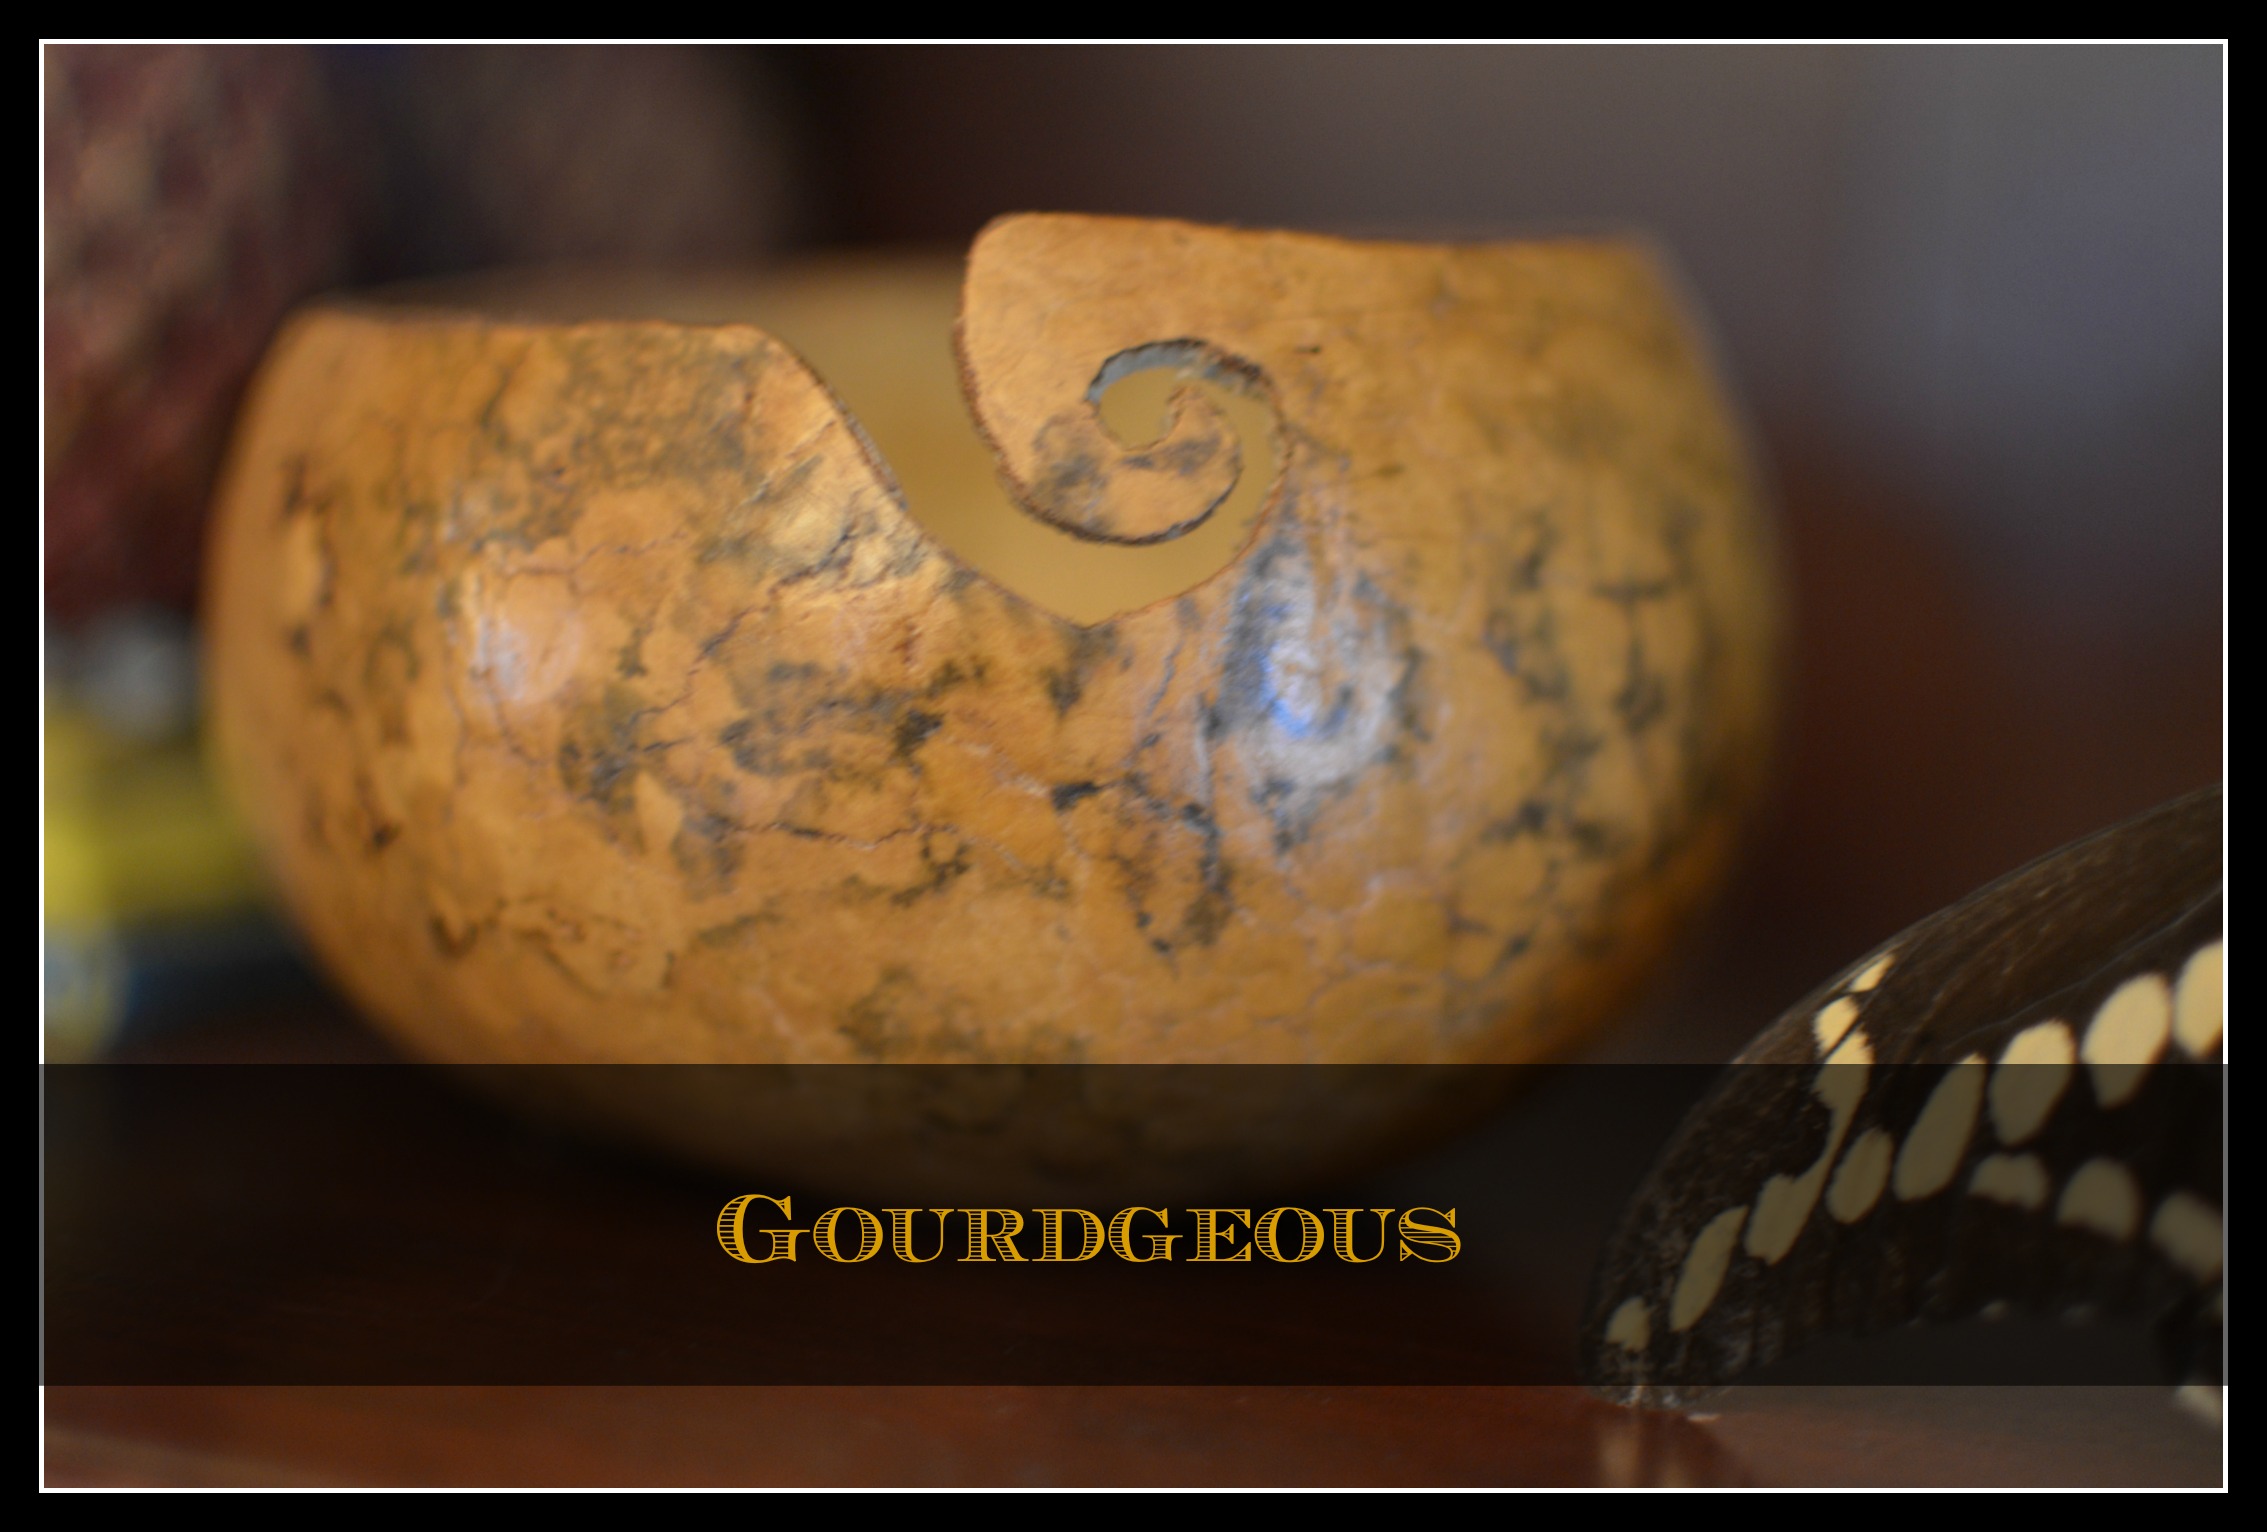
I used a regular ol’ hand saw to cut the neck off. I shook the seeds out then used a hand drill to make holes along the design that I wanted ( no photos, sorry). I used a simple jigsaw blade in my hand and started connecting the holes that I had drilled. This part was surprisingly easy. I used a little scrap of sandpaper (for this I suggest a mask for protection) and worked it carefully along the cut ends and design.
Finishing Touch
I used my husband’s shoe polish and an old rag to distribute the wax. I wasn’t thrilled with the results but my handy son suggested I use a lighter to warm the wax for easier application. I took his suggestion as an offer and, with my new volunteer, proceeded to cover the remaining gourd with ease.
Like what you see?? Subscribe here.
Check out these other gourd projects!

This was my first attempt and certainly far from perfect, but I am happy enough with the results that I am eager to attempt some of the more complicated designs on Pinterest.

